 Save
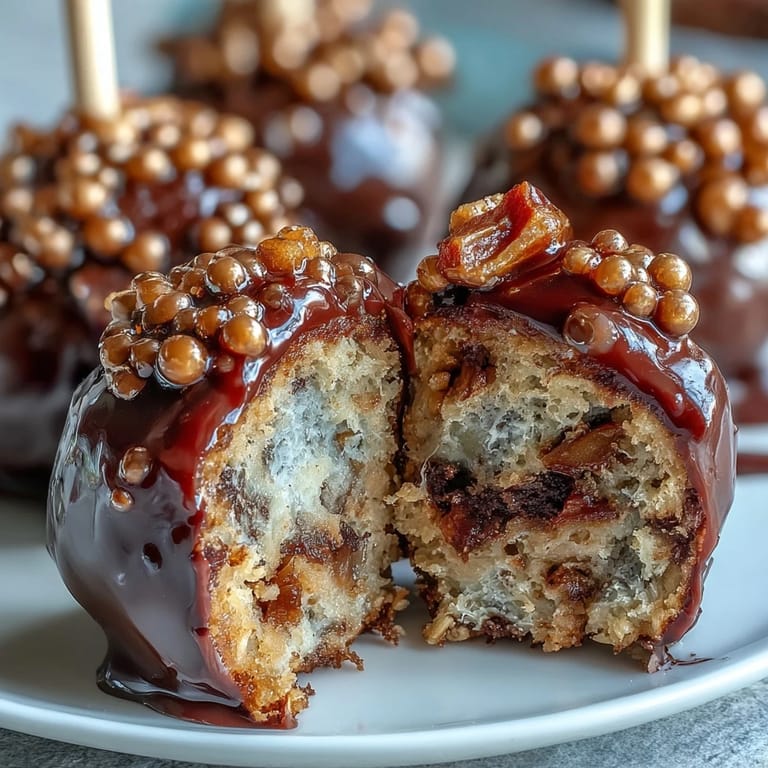
Save My neighbor showed up at my door one March afternoon with a box of these ridiculous little cake pops shaped like tiny pots, each one crowned with edible gold that caught the light like actual treasure. I'd never made cake pops before, but something about the whimsy of it—the idea that you could turn basic chocolate cake into something that looked festive and fanciful—made me determined to recreate them for my own St. Patrick's Day gathering. The first batch was admittedly lumpy, my pots looked more like potatoes, but by the time I'd finished decorating with all that golden shimmer, I didn't care anymore. These little things became the unexpected star of the party, maybe because everyone was delighted that something so charming actually tasted good too.
I made these for the first time on a rainy afternoon when my daughter's school called a snow day in the middle of March, and we decided to treat it like an early St. Patrick's celebration at home. She helped me roll the cake balls, and her serious concentration while trying to make them perfectly round was so genuinely focused that I didn't have the heart to tell her lumpy pots were totally fine. By the time we were dipping them in black candy melts and she was sprinkling on the gold, we were both laughing at how messy it got, chocolate on our hands and gold dust everywhere. Those pops tasted exactly the same whether they were perfectly spherical or charmingly irregular, and somehow that felt like the most important lesson of the whole afternoon.
Ingredients
- Chocolate cake mix: Using a box mix here isn't cutting corners, it's being smart with your time so you can focus on the fun decorating part that actually makes these special.
- Chocolate frosting: Store-bought works beautifully, and honestly, this is where I discovered that being lazy in one place lets you be creative in another.
- Black candy melts: The pot color that makes everything else pop, and they melt so smoothly you'll wonder why you ever stressed about tempering chocolate before.
- Gold sprinkles or edible gold pearls: This is the magic, the moment your cake pops go from brown blobs to treasure-filled pots, so don't skimp here.
- Lollipop sticks: These give your pops their identity and make them actually easy to handle without getting chocolate all over your fingers.
- White candy melts: Optional but worth having for piping details around the rims, which takes about two minutes and somehow makes everything look more polished.
- Green fondant or sprinkles: For shamrock accents if you want to lean into the holiday theme, though honestly the gold alone is beautiful enough.
Tired of Takeout? 🥡
Get 10 meals you can make faster than delivery arrives. Seriously.
One email. No spam. Unsubscribe anytime.
Instructions
- Bake your cake:
- Follow the box instructions exactly and let that cake cool completely in the pan, even though it feels like forever. Impatience here means warm crumbs that won't hold together later.
- Make the crumb mixture:
- Crumble the cooled cake into a bowl until it looks almost like wet sand, then fold in the chocolate frosting until you get something that feels like Play-Doh. This is where you can taste a tiny bit if you want to, and it will taste like pure indulgence.
- Roll and chill:
- Scoop the mixture into balls about the size of walnuts and gently flatten the tops so they actually resemble little pots instead of perfect spheres. Pop them in the fridge for at least 30 minutes so the coating won't crack off when you dip them.
- Prepare your sticks:
- Melt your black candy melts in a microwave-safe bowl, dip each stick tip in to create a little anchor, then press it halfway into each cake ball. Chill for 10 minutes so the sticks really set and won't spin around when you dip.
- The full dip:
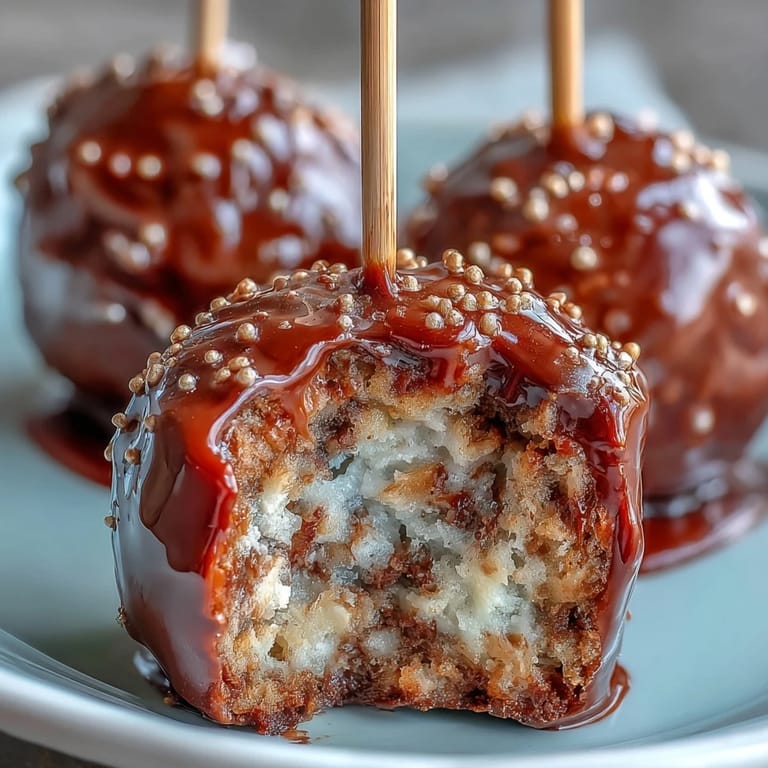
- This is the moment that feels like magic: holding the stick and fully submerging each pop into the melted black, watching the coating cascade off, then standing it upright in your styrofoam stand. Work quickly so the coating doesn't get too thick, and don't worry if it's not perfectly even.
- Add the gold treasure:
- Immediately after dipping, before the coating even begins to set, sprinkle that gold right on top so it sticks and looks like coins tumbling out of the pot. This is the step that transforms them from plain to magical.
- Optional finishing details:
- Melt a tiny bit of white candy melts and pipe a thin line around the rim of each pot for a delicate accent, or add green fondant shamrocks if you're feeling fancy. Let everything set completely before touching or serving.
 Save
Save There's a moment, right after you've dipped all 24 pops and they're standing there like little black sentries with their gold crowns gleaming under the kitchen light, where you feel like you've actually accomplished something real. My friends still text me photos of these whenever St. Patrick's Day comes around, and that's become more meaningful to me than any store-bought dessert ever could be.
Storage and Keep
These pops last in an airtight container at room temperature for three days, which is actually longer than I expected, though they never seem to make it that long because people keep stealing them. If you're making them ahead, store them in a cool spot away from direct heat or sunlight so the coating doesn't get soft and the gold stays bright.
Customizing Your Pots of Gold
The beautiful part about this recipe is how flexible it is once you understand the core technique. I've made versions with milk chocolate coating for people who prefer something less intense, and the gold sprinkles honestly work with any color scheme if you want to adjust for different holidays. One time I used green candy melts for a full Irish theme, and someone told me it looked like a leprechaun's actual treasure, which I took as the highest compliment possible.
Why These Became My Go To
What I love most is that these pops are impressive without being complicated, festive without feeling overdone, and genuinely fun to make whether you're going solo or involving the kids. They bridge that perfect gap between homemade and polished, between effort and ease, which is basically everything I want from a dessert. Serving these feels like sharing a small moment of magic, and honestly, that matters more than any perfect appearance ever could.
- Make sure your styrofoam block or cake pop stand is sturdy and properly positioned before you start dipping so pops don't topple over while setting.
- If you don't have candy melts, regular chocolate will work but it won't have that same smooth, snappy coating that makes these feel special.
- The gold decoration is what makes these feel festive and special, so don't skip it even if you're tempted to rush through this part.
 Save
Save These pots of gold remind me that the best celebrations often come wrapped in simple things made with intention, served with a smile, and remembered long after they're eaten. Make them, share them, and watch how something this small can bring such disproportionate joy to people's faces.
Questions & Answers for Recipes
- → How do I ensure the cake pops hold their shape?
Chilling the formed cake balls before dipping helps them firm up, preventing them from falling apart during coating.
- → What’s the best way to get a smooth chocolate coating?
Melting the candy melts gently and dipping the pops slowly allows for an even and smooth chocolate finish.
- → Can I add different decorations besides gold sprinkles?
Yes, green fondant or sprinkles can be added to create shamrock accents or other festive touches.
- → How long can the cake pops be stored?
Store them in an airtight container at room temperature for up to three days to maintain freshness.
- → Is a gluten-free version possible?
Yes, by using gluten-free cake mix and ensuring all decorations are gluten-free, these treats can suit gluten-sensitive diets.