 Save
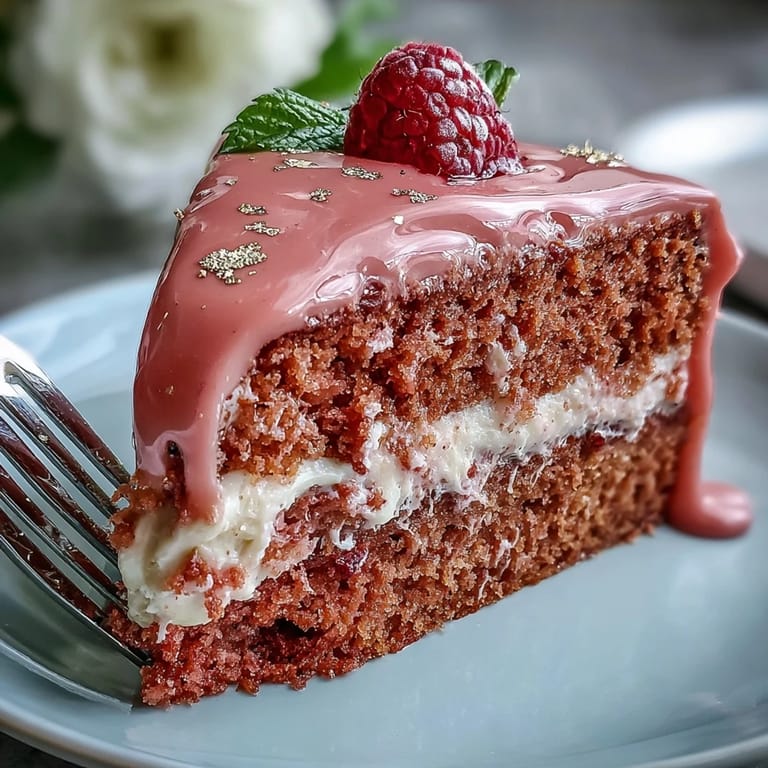
Save The gentle fizz and floral aroma of rosé always reminded me of those moments when life deserved to feel just a bit more celebratory. The first time I baked this Rosé Velvet Cake, I wasn't even planning on making it pink—the color just seemed to seep naturally from the joy of the gatherings I imagined. Sometimes, it’s not an old memory but the promise of a new tradition that brings a recipe to life. Hearing the subtle pop of the rosé bottle on a quiet Sunday, I decided to experiment, and out came this delight: delicate, blushing, and ready for its golden finishing touch.
I once brought this cake in a slightly wobbly state to a friend's bridal shower—balanced precariously on my lap during a bumpy cab ride, praying the gold drip would survive. When the lid finally came off, the squeals and camera flashes proved it didn't matter if one drip was a little crooked: the magic was in the moment, and in the pink-stained fingers sneaking a swipe of frosting before dessert was served.
Ingredients
- All-purpose flour: The cake’s foundation—sift it for a lighter crumb and to prevent lumps.
- Cornstarch: Just enough to make the cake tender, a secret I learned from testing classic velvet recipes.
- Unsweetened cocoa powder: Only a touch gives depth without making it a chocolate cake; Dutch-processed works best here.
- Baking soda: Reacts with the acidic rosé and buttermilk for lift; make sure it’s fresh for the fluffiest results.
- Salt: Sharpens the rosé and chocolate notes, so don’t skip it.
- Unsalted butter: Creaming well with sugar is the key to that plush, velvety texture; start with soft, not melty, butter.
- Granulated sugar & light brown sugar: Using both sugars brings a balanced sweetness with a hint of caramel undertone.
- Eggs: Room temperature eggs whip up higher and blend more easily; don’t rush this step.
- Rosé wine: Choose a fruity, floral rosé that you’d happily drink; it’ll show up in the finished cake’s flavor.
- Buttermilk: Makes the crumb moist and just tart enough; use room temperature for best results.
- Vanilla extract: Brightens the flavors and brings everything together; pure vanilla gives the warmest aroma.
- Pink gel food coloring: Optional, but a tiny drop gives a vivid but natural pink—be sparing so it doesn’t overwhelm.
- Cream cheese & unsalted butter (for frosting): Both must be fully soft so the frosting whips up lush and smooth, without lumps.
- Confectioners’ sugar: Sift before adding to avoid gritty frosting and get that pillowy finish.
- White chocolate chips & heavy cream (for gold drip): Melt them gently for a glossy ganache—overheating can split it.
- Edible gold luster dust & clear vodka or lemon extract: Whisked together, these become ‘gold paint’—a little goes a long way for drama.
Tired of Takeout? 🥡
Get 10 meals you can make faster than delivery arrives. Seriously.
One email. No spam. Unsubscribe anytime.
Instructions
- Get Prepped:
- Set the oven to 350°F (175°C), grease and line three 8-inch pans, and let your ingredients come to room temperature; music in the background doesn’t hurt.
- Sift the Dry:
- Whisk flour, cornstarch, cocoa, baking soda, and salt in a big bowl; sift for the silkiest cake—flour clouds are a good sign here.
- Cream the Butter and Sugars:
- With an electric mixer, beat the butter, granulated and brown sugars until the mix transforms from sandy to creamy pale ribbons—about 3–4 minutes.
- Add Eggs and Vanilla:
- Crack in eggs one by one, beating each in so it disappears before the next; finish with the vanilla, catching the fragrant plume as you stir.
- Mix Rosé and Buttermilk:
- Combine these in a jug and steal a whiff—the aroma is intoxicating and hints at what’s to come.
- Combine and Color:
- With mixer on low, alternately add flour mix and rosé-buttermilk mix, starting and ending with flour; for that perfect pink, swirl in a tiny bit of gel food coloring.
- Bake the Cakes:
- Divide the batter evenly among pans, smooth the tops, and bake 28–32 minutes, until your kitchen smells luxurious and a tester comes out clean.
- Cool Down:
- Rest cakes in their pans for 10 minutes, then turn out to cool completely on a wire rack—don’t rush, or the layers might crumble.
- Whip Up Frosting:
- Beat the cream cheese and butter until fluffy, rain in confectioners’ sugar, vanilla and a pinch of salt; keep going until it’s cloudlike and irresistible.
- Assemble with Care:
- Stack and spread frosting between each layer and all over; use an offset spatula for those silky swoops—pop the cake in the fridge to set.
- Make Gold Drip:
- Gently melt white chocolate chips and cream together, cool a bit, then drizzle from a spoon around the edge so it drips like liquid luxury; chill again to set.
- Paint it Gold:
- Mix luster dust with vodka or lemon extract in a tiny dish, then brush over the drips once they’re firm—embrace the shimmer.
- Final Flourish:
- If you want, dot with edible flowers or gold leaf; stand back and admire before slicing.
 Save
Save 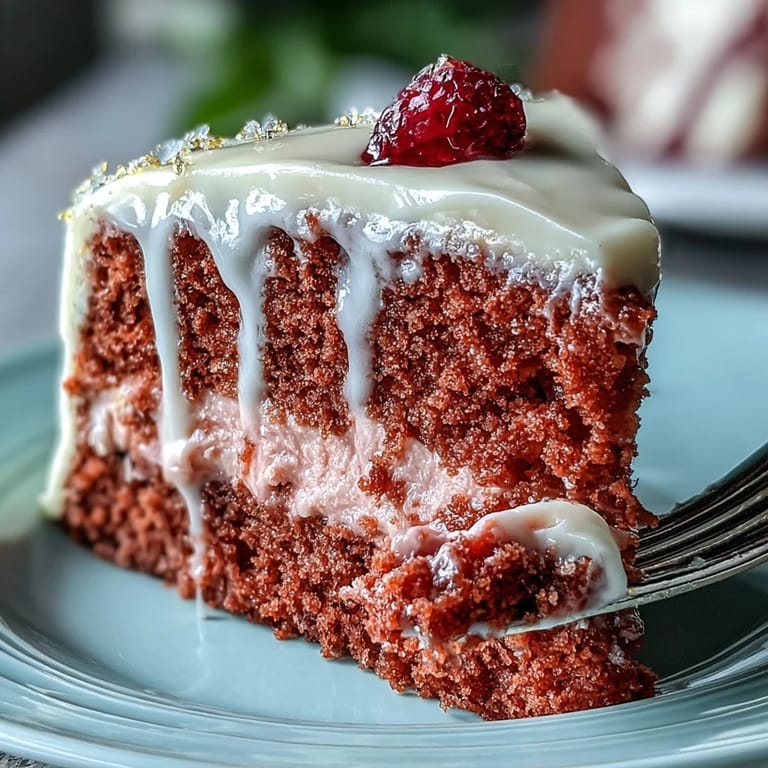 Save
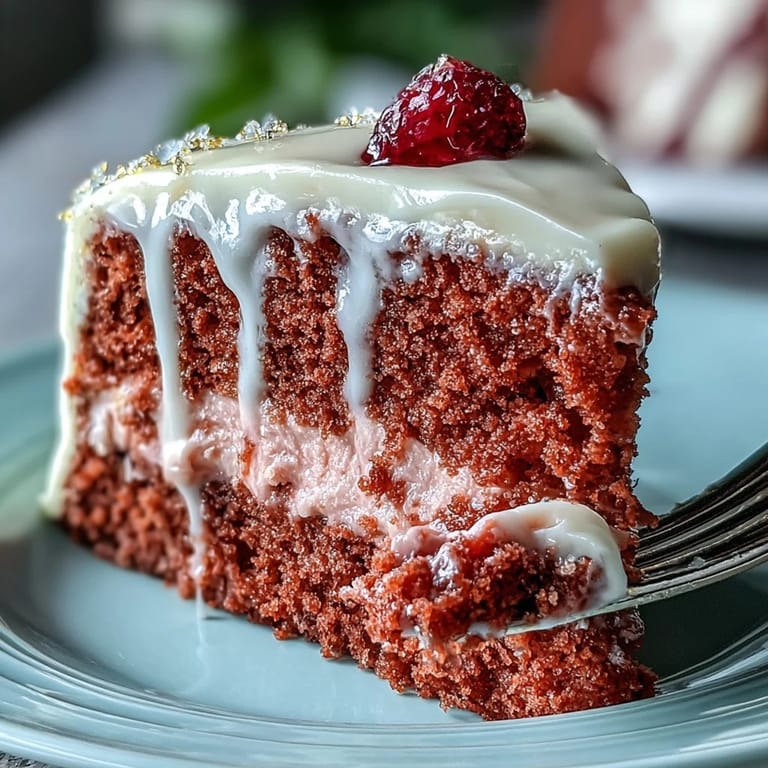
Save When I saw the happy mess—a few streaks of gold on the tablecloth, laughter echoing, pink crumbs scattered like confetti—I realized this cake had become a star at the party, not just a pretty centerpiece but the start of new memories.
How to Pull Off Picture-Perfect Gold Drip
The trickiest part can be waiting for the ganache to cool to just the right temperature: a little patience saves you from runny disasters. Test by dripping a bit down the inside of a bowl; you want it slow and luscious, not thin and fast. I learned to keep a small paintbrush just for edible dust, as regular ones can leave weird flavors behind. If the gold looks streaky, wait a few more minutes or add a bit more luster dust for brilliance.
Making the Most of Rosé Flavor
Each rosé has its own mood—some are citrusy, others taste of strawberries or peaches—so choose one that feels festive to you. I love how the subtle floral notes linger in the cake, especially when paired with fresh berries. Using buttermilk instead of regular milk is non-negotiable; it ties the whole flavor profile together. If you go non-alcoholic, sparkling pink grape juice works wonders for keeping the celebratory spirit alive.
Assembly and Decor Tips for Flawless Presentation
Straight, even layers are the difference between a rustic ‘homemade’ feel and a showstopper—use a serrated knife if needed to trim humps. Chilling the cake before adding the drip makes your drips sharper and more controlled, no matter how warm your kitchen gets. I sometimes edge the base with a ring of berries or tiny edible flowers—it hides any stray frosting and grabs the spotlight with very little effort.
- If your hands get sticky, a damp towel at arm’s reach saves you.
- Keep an extra small piping bag for patching up gold spots if needed.
- Always have a little extra frosting, just in case your crumb coat isn’t enough.
 Save
Save 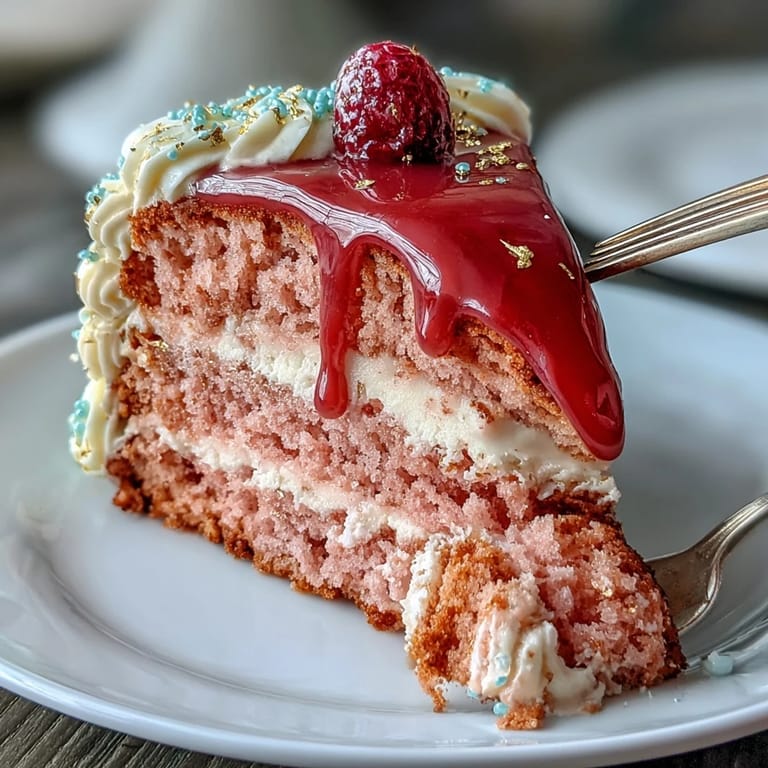 Save
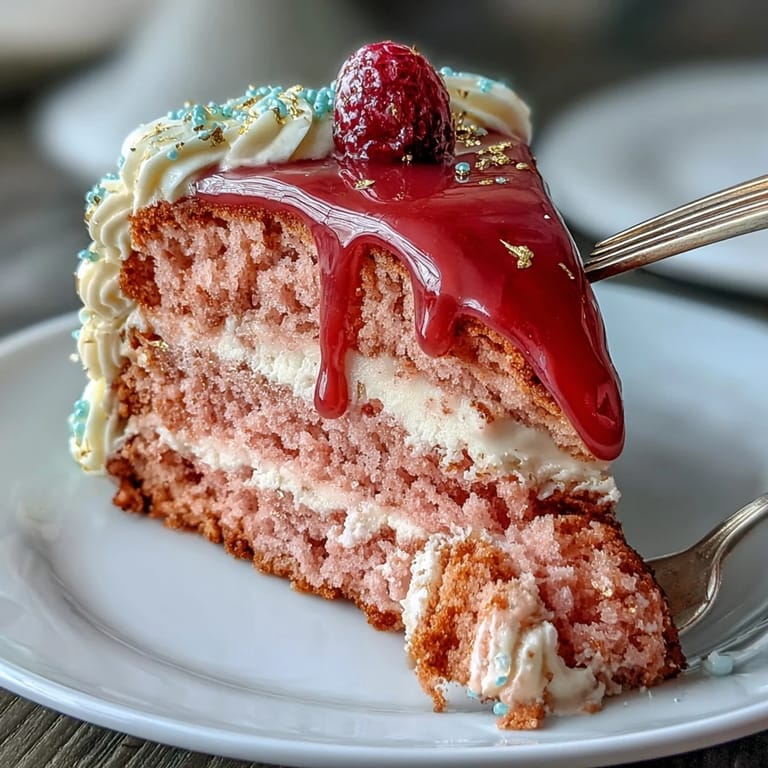
Save May every slice of this cake bring its own sparkle to your celebration. Here’s to joyful baking and even more dazzling memories to come.
Questions & Answers for Recipes
- → Can I make this without alcohol?
Yes—substitute rosé with pink grape juice or sparkling cider in equal measure; they preserve the fruity note and color without the alcohol.
- → How do I keep the layers from sliding when stacked?
Chill each layer after leveling and before stacking, and use a thin crumb coat of frosting to lock crumbs. Chill again to set the crumb coat, then finish with the final layer of frosting.
- → How do I get an even pink hue?
Use gel food coloring a little at a time for a concentrated color without thinning the batter. Natural blush can come from a quality rosé; add color only if you want a stronger pink.
- → What’s the best way to make the gold drip adhere cleanly?
Pour the white chocolate ganache while it’s slightly cooled but still pourable so it holds on the edge. Let it set fully in the fridge, then mix gold luster dust with a few drops of vodka or lemon extract and paint the hardened drips for a crisp gilded finish.
- → How should I store the finished cake?
Refrigerate covered to protect the frosting and decorations. Bring to room temperature for 30–60 minutes before serving to restore softness and flavor.
- → Can I prepare elements ahead of time?
Yes—baked layers can be wrapped and frozen for up to a month. Frosting and ganache keep well in the fridge; bring them to workable temperature before assembling and decorating.